How to create a staging account in sub-domain in zpanel?
Tips and tricks in adding a staging account to your VPS server or a dedicated server. If you are developing a new application, creating a staging server for testing purpose is a smart and safest choice. Assuming you are using zPanel in your web hosting environment.
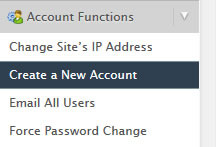
Step 1: Create a new account with the subdomain in the ns1 server.
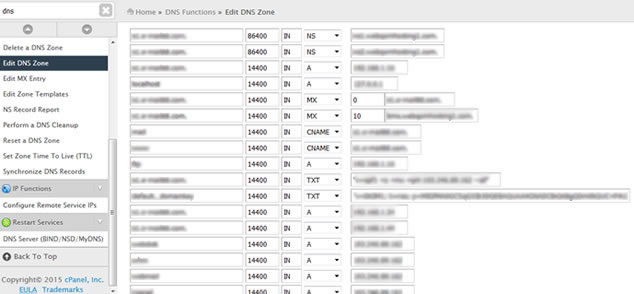
Step 2: Edit DNS zone in ns1.
Step 3: DNS Replication using BIND9
Please follow the steps here for step 3 : Useful Tip: DNS Replication using BIND9 (Simplified Version)
Step 4: After step 3 is completed, you can run a check by inserting your domain here:
Please follow the steps here for step 3 : http://www.intodns.com/. If there is no error, please proceed to step 5.
Step 5: Create subdomain in the server where the WWW A Record is pointed to.

Step 6: Now we need to change the status of the sub domain from "Pending" to "LIVE". Go to zpanel -> Reseller -> zpanel config
At the end of screen you will find run deamon now. Click "GO".

Click on "GO" for RUN DAEMON NOW.
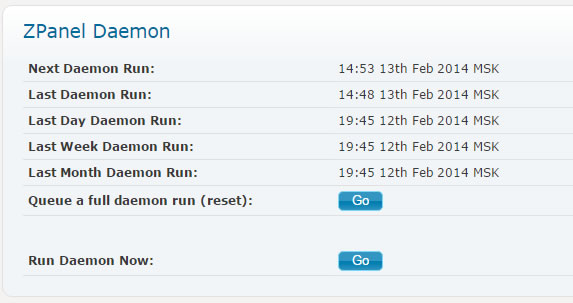
This window will appear:

Upon daemon completion, the status is updated to LIVE.

Step 7: Create an FTP account in the server where the WWW A Record is pointed to. Please follow the below settings for access type and home directory.
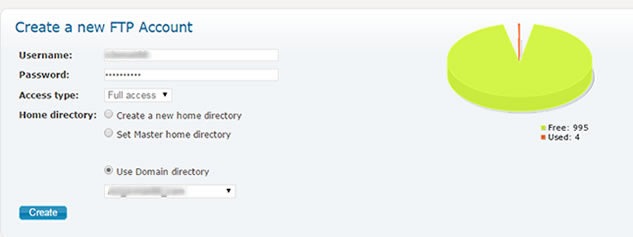
Step 8: Upload files to the server via FTP [File Transfer Protocol] using Filezilla.
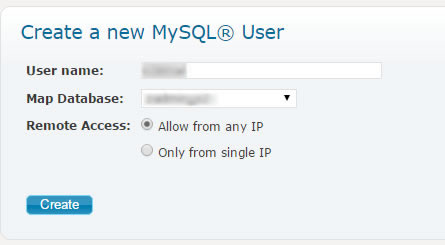
Step 9: Create a database account in the server where the WWW A Record is pointed to. Please follow the below settings for access type and home directory.
Start by creating a database name.

Then create mysql user. Map the correct database to this user.
Mysql user has been successfully created:
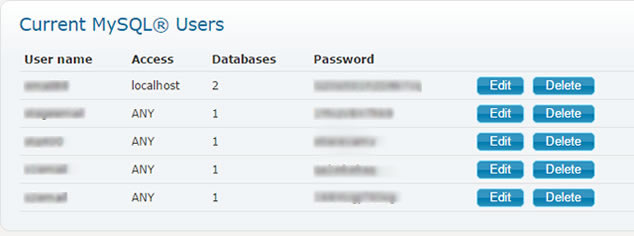
Click edit to reset to a stronger password:
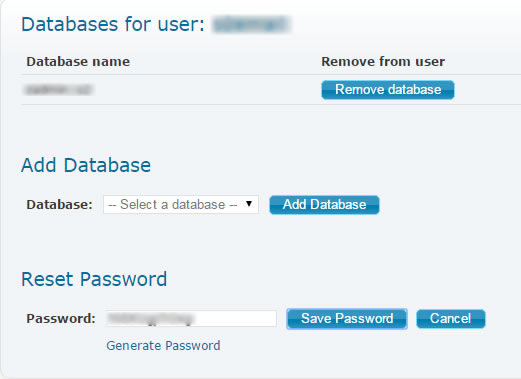
Now, let's try to test to login and see if you can log in below.
