Tips for using E-mail88 : How to upload your image file and send?
A good looking newsletter is the best way to spark the curiosity of your prospects or would be prospects. Applying sharp and related images smartly is a great way to ensure that your emails are eye catching and easy to read, making them more enjoyable for the customer to read and engage with.
Images that are hosted within E-mail88 or on an outside server can be inserted into your campaign elements, including email and landing page templates.
This article will explain how you can add images to your email campaigns.
Step 1: Login as user
Step 2: Click on File Manager on the left menu.
.jpg)
Step 3: Click Add New File
.jpg)
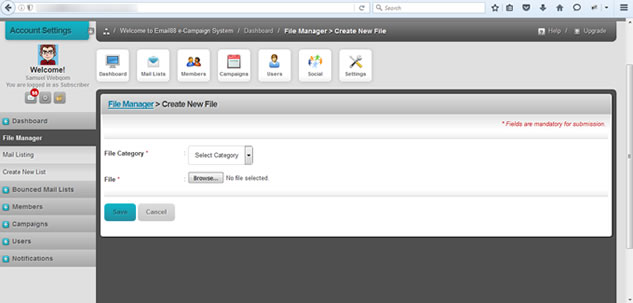
Step 4: Select "Image" for the File Category field in the below screenshot. Browse to select your image and save.
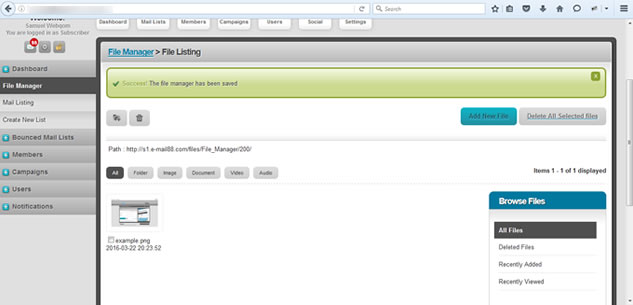
The below green notification will be visible upon successful saving:
Step 5: Now you can begin to send out your campaign using the image you just uploaded. Click on New Campaign (DIY).
.jpg)
Step 6: Click on the icon in the red square below.

Step 7: Click on the below icon inside the red square when the below pop up screen appears:

Step 8: Select the image you just uploaded.
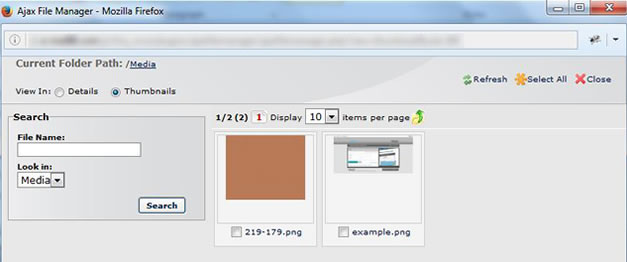
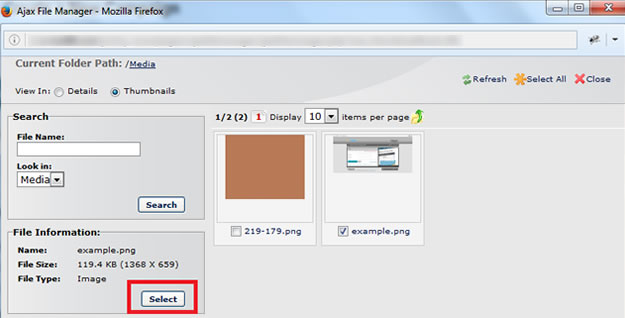
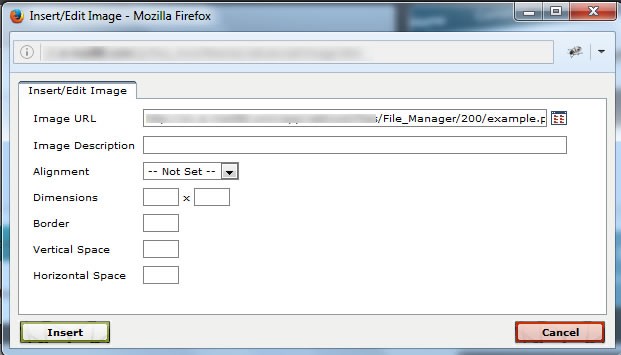
Click the Select button once done. The page below will appear with the URL of your selected image. Click the “Insert” button.
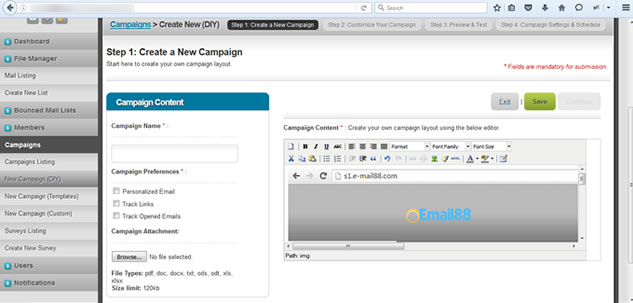
Your selected image now appears in the FCKeditor box.
Other information: E-mail88


